Counto Help & Support Center
Access guided demos and step-by-step walkthroughs across every Counto platform. Learn how to manage your ACRA compliance, IRAS tax, payroll, and daily operations.

Company Profile Setup
How do I set up my company profile to start using Payroll?
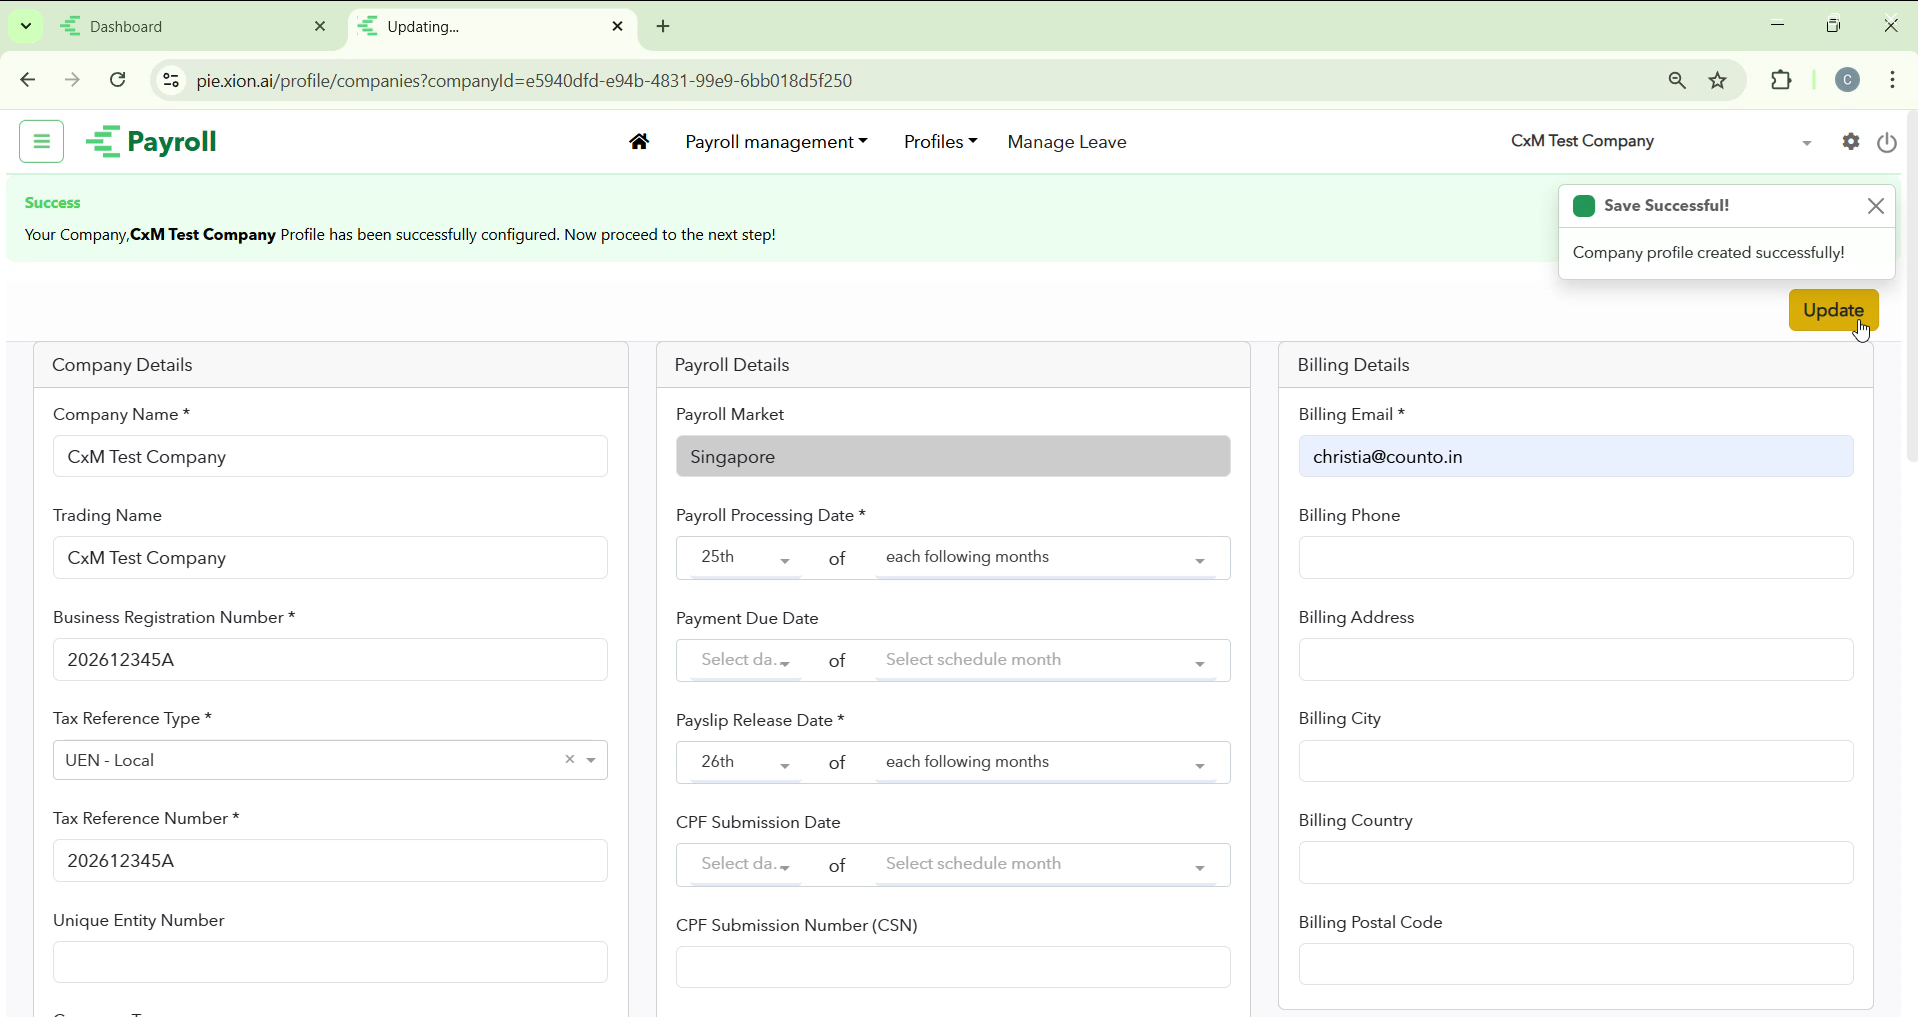
Once you complete the onboarding flow and enter the Payroll App, your first task is to set up your Company Profile. This is a critical step that unlocks the rest of the system’s capabilities.
Accessing the Profile
Upon landing on the dashboard, you will see a welcome banner. Click “Start by setting up your Company Profile” or navigate to the profile section in the sidebar to begin.
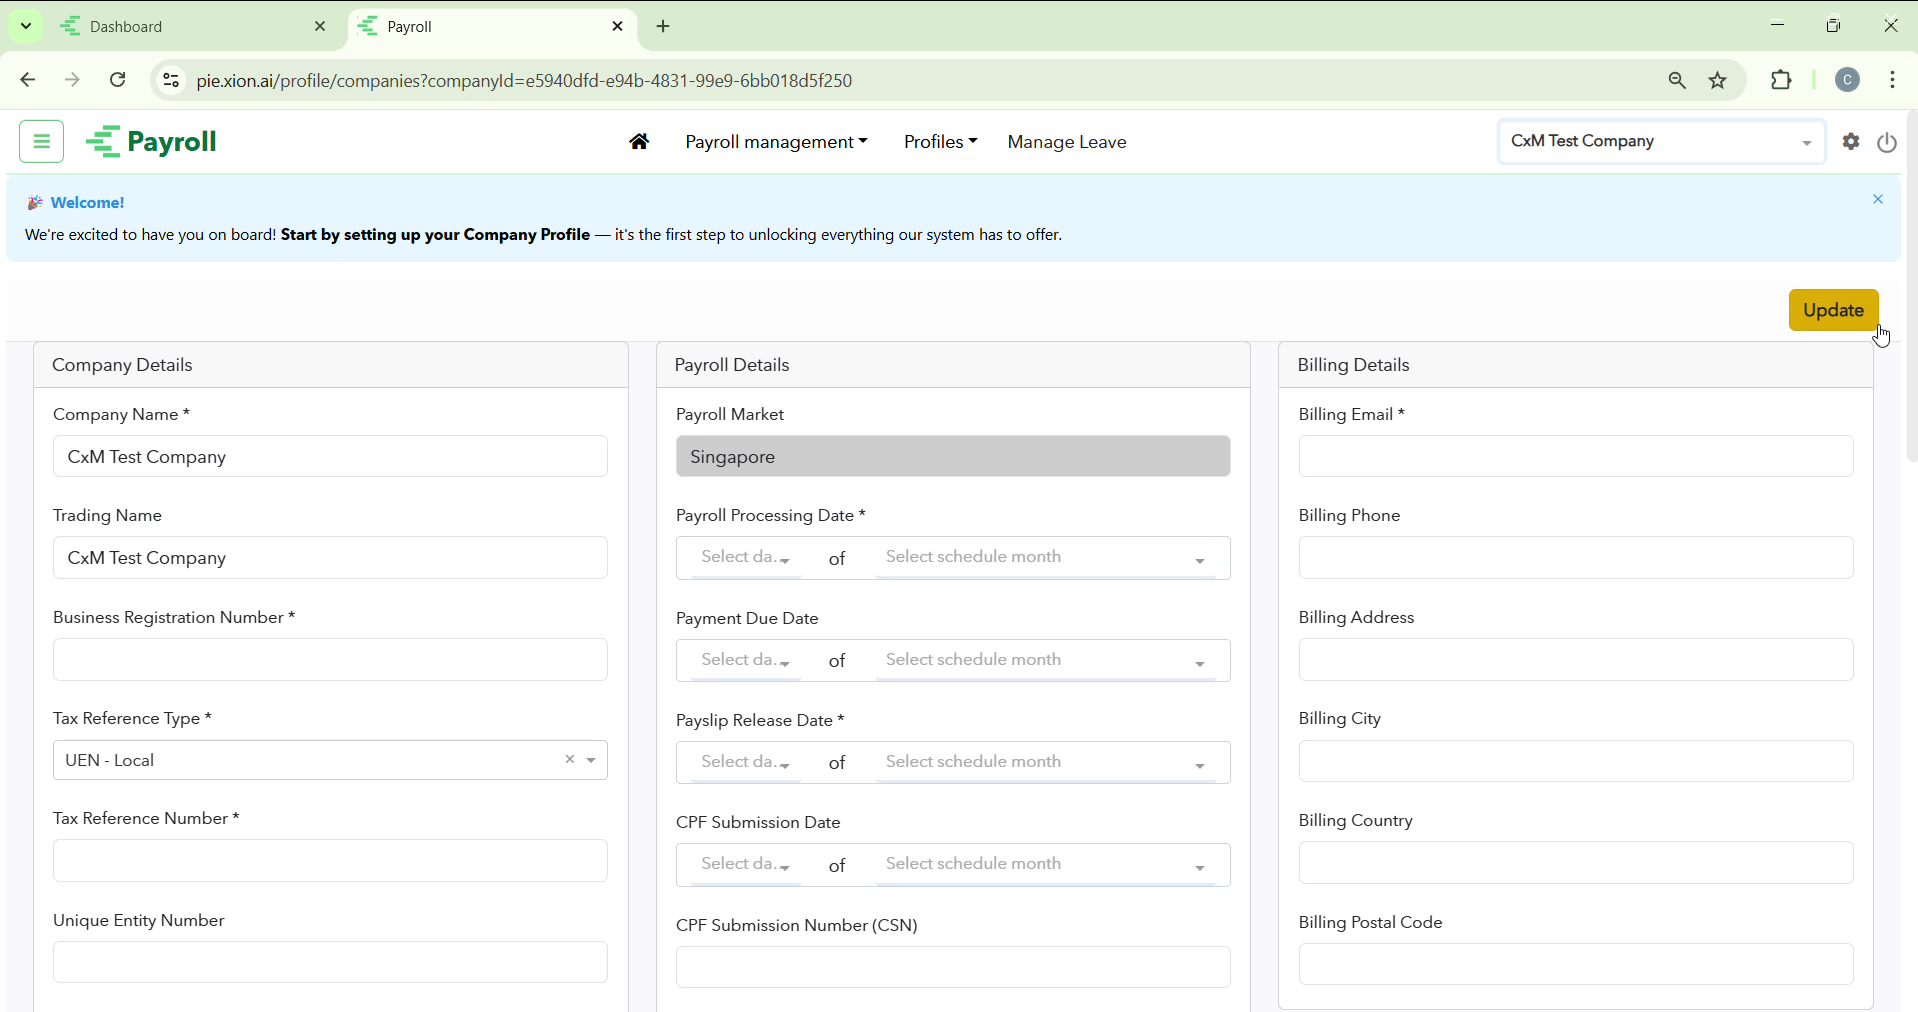
Required Information
You must fill out three main columns of information to ensure your payroll is compliant with Singapore regulations:
- Company Details: Confirm your legal name, UEN, and Tax Reference Type.
- Payroll Details: Set your monthly Processing Date, Payment Date, and CPF Submission Number (CSN).
- Billing Details: Provide your official billing contact and registered address.
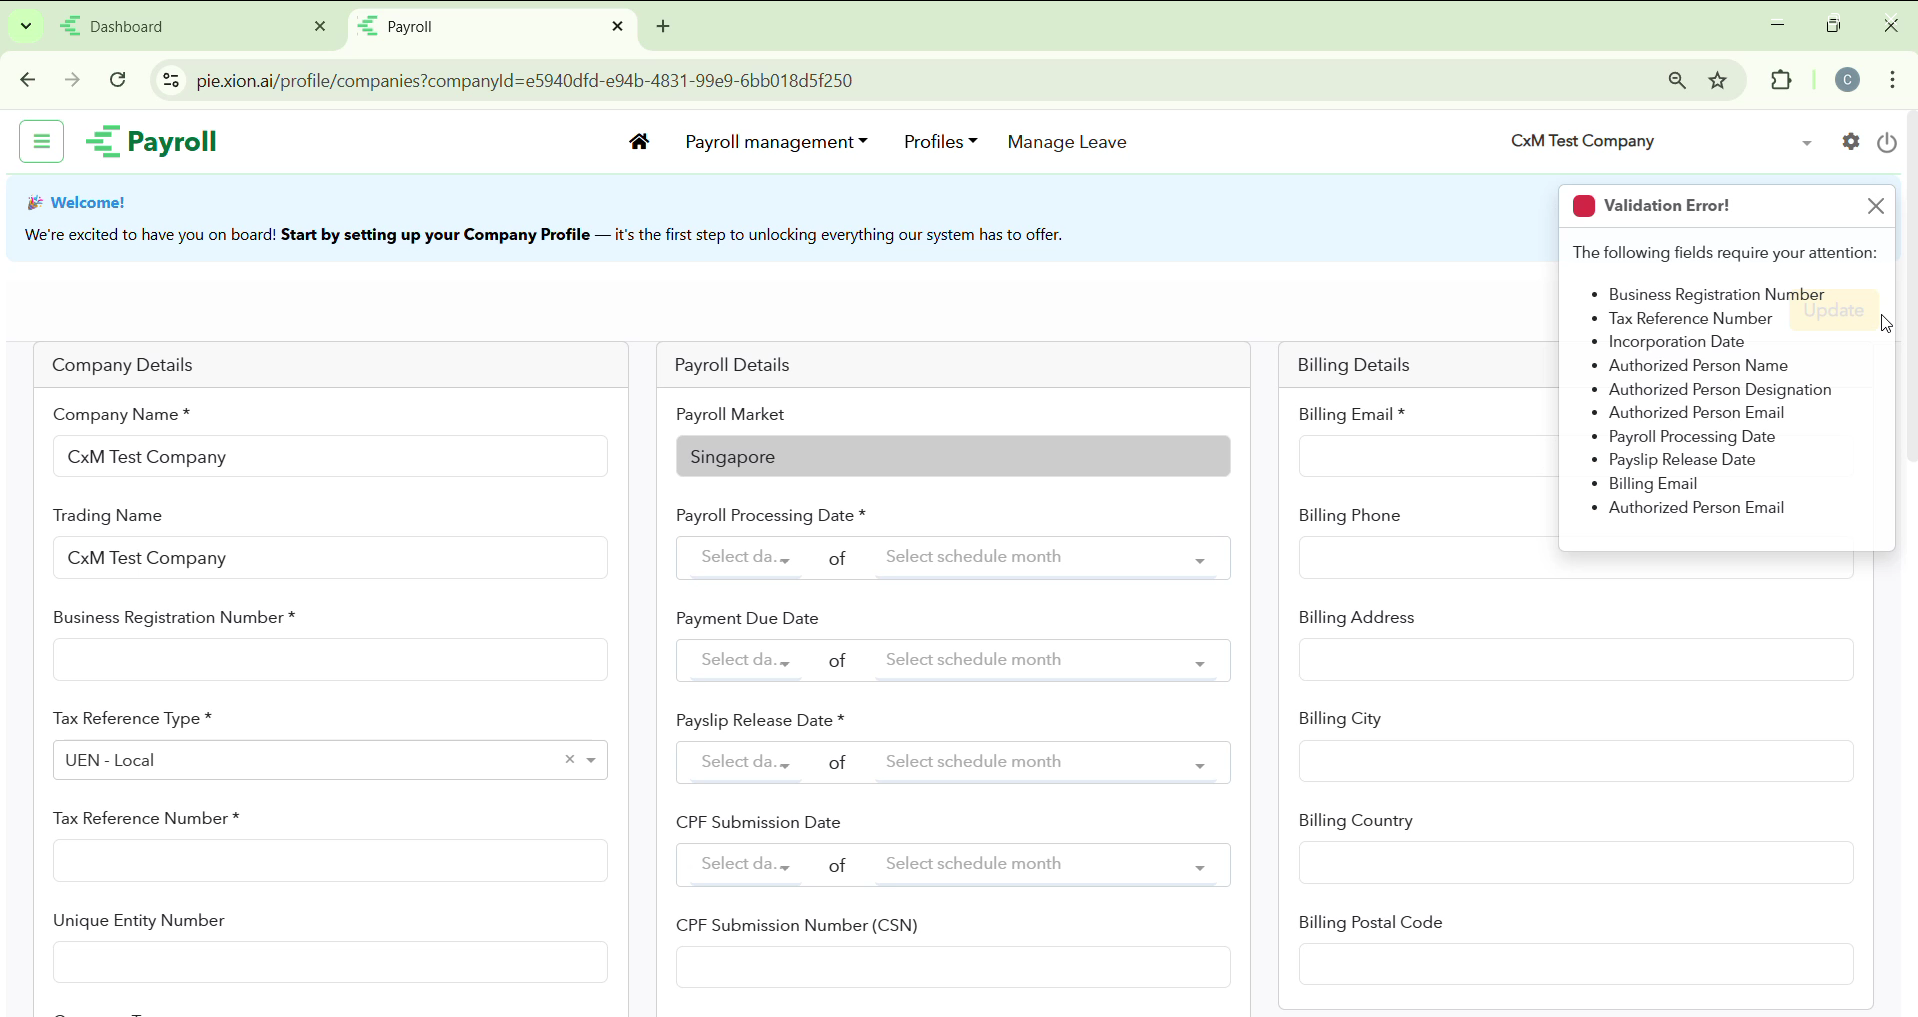
Updating and Validation
Click the yellow Update button.
Inviting Team Members
How do I give other users access to manage Payroll?
You can invite business partners or HR staff to help manage records and approvals.
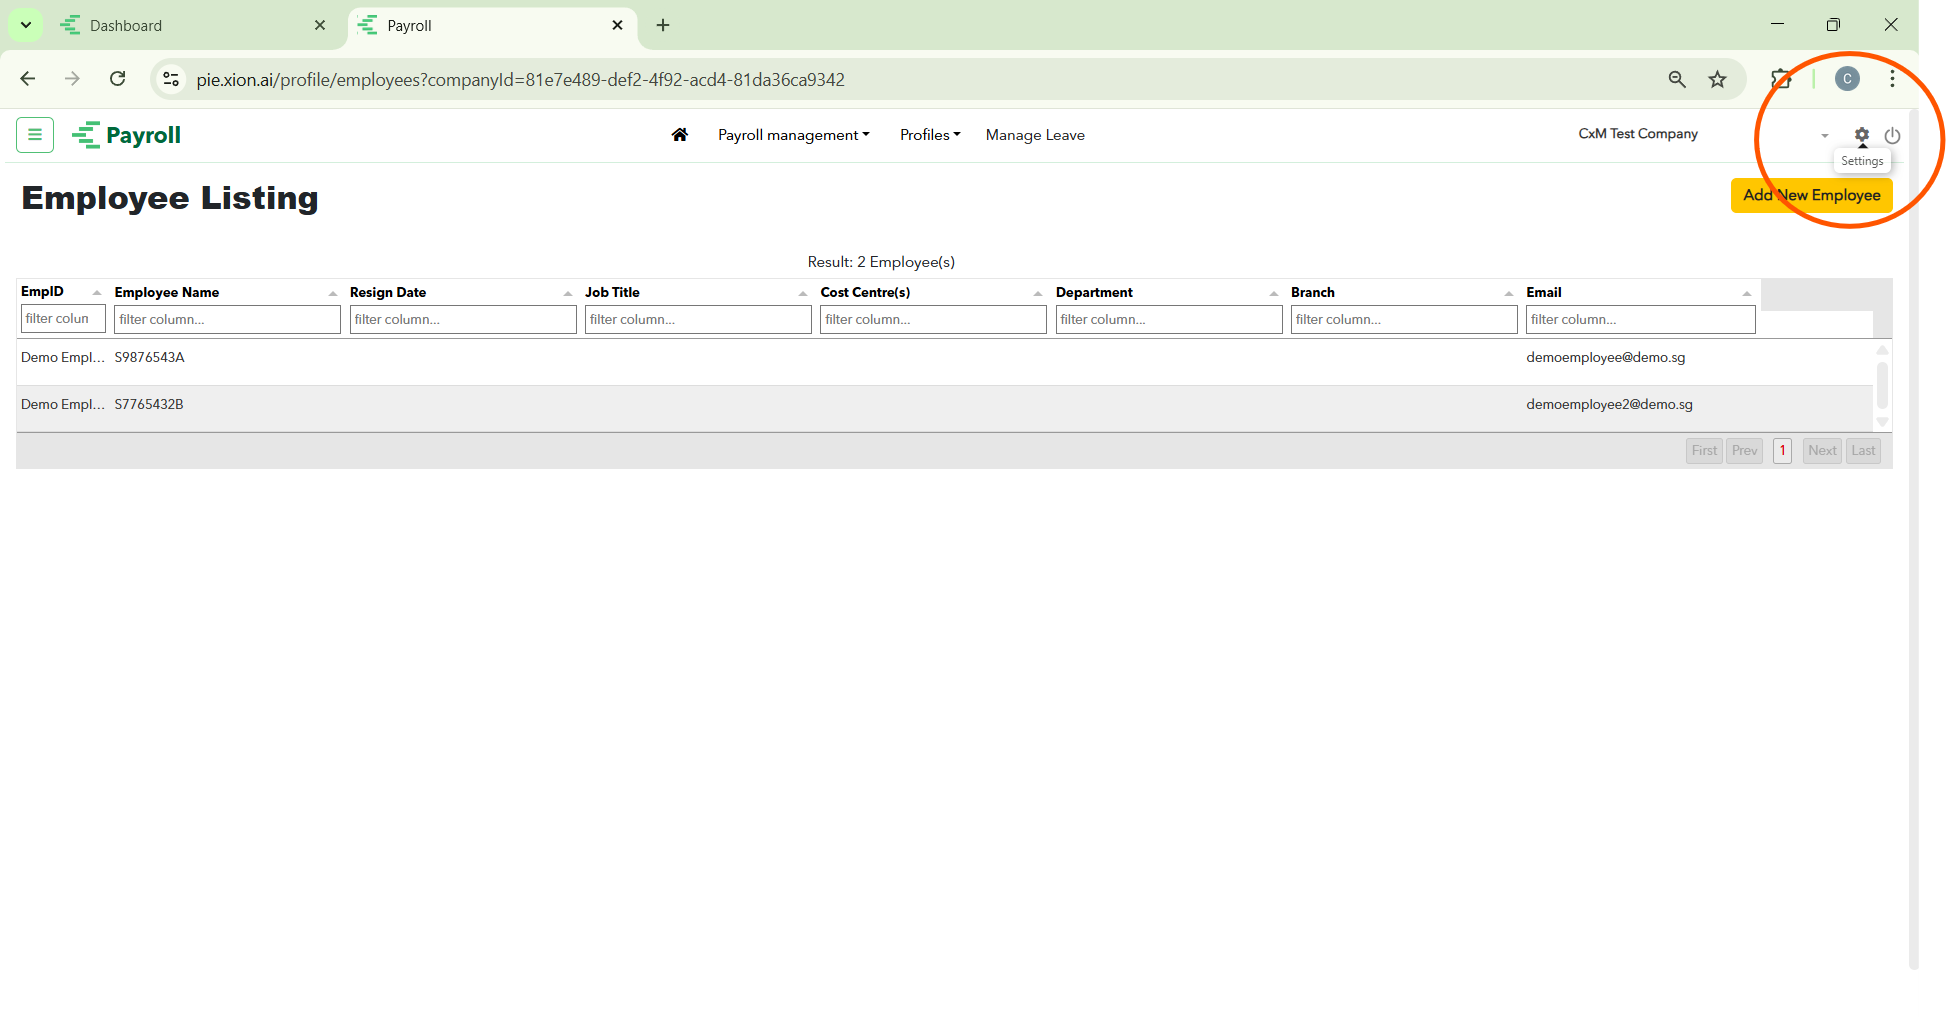
Accessing Permissions
Click the Settings (Gear Icon) in the top right corner of the screen. A permissions panel will pop up.
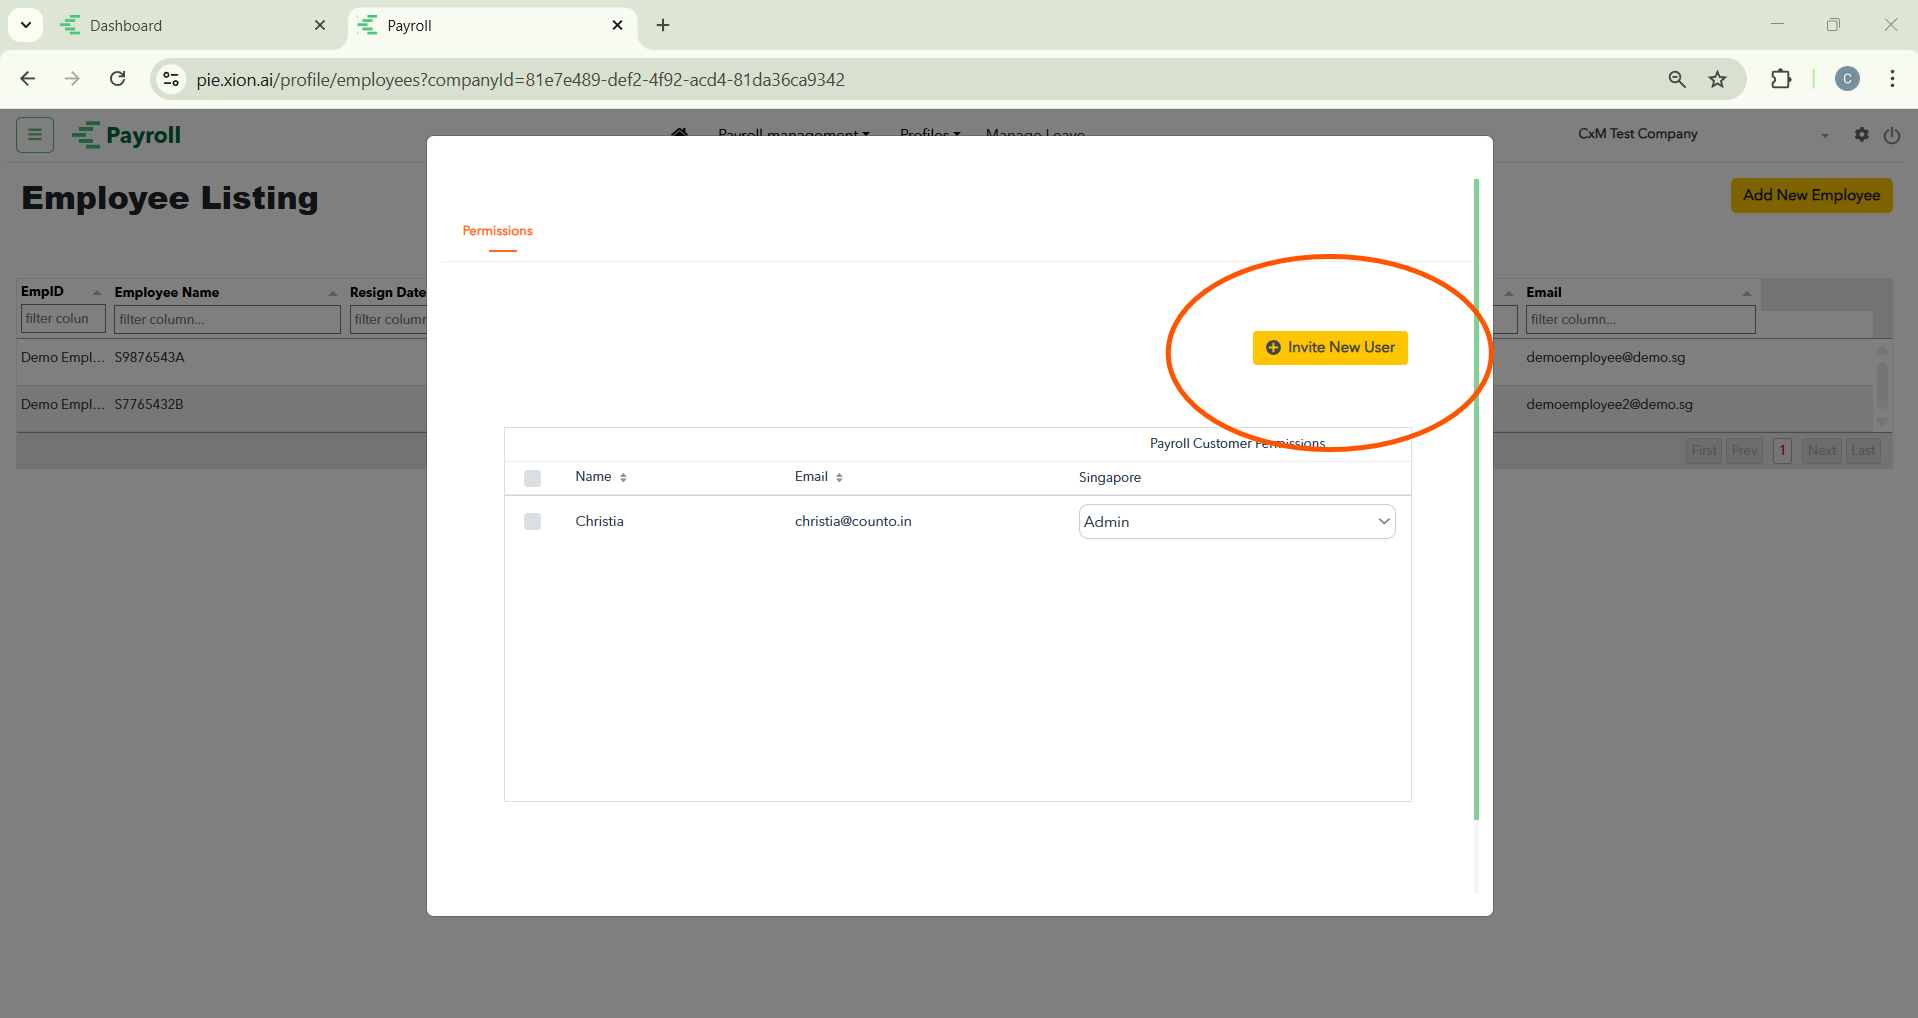
Inviting a New User
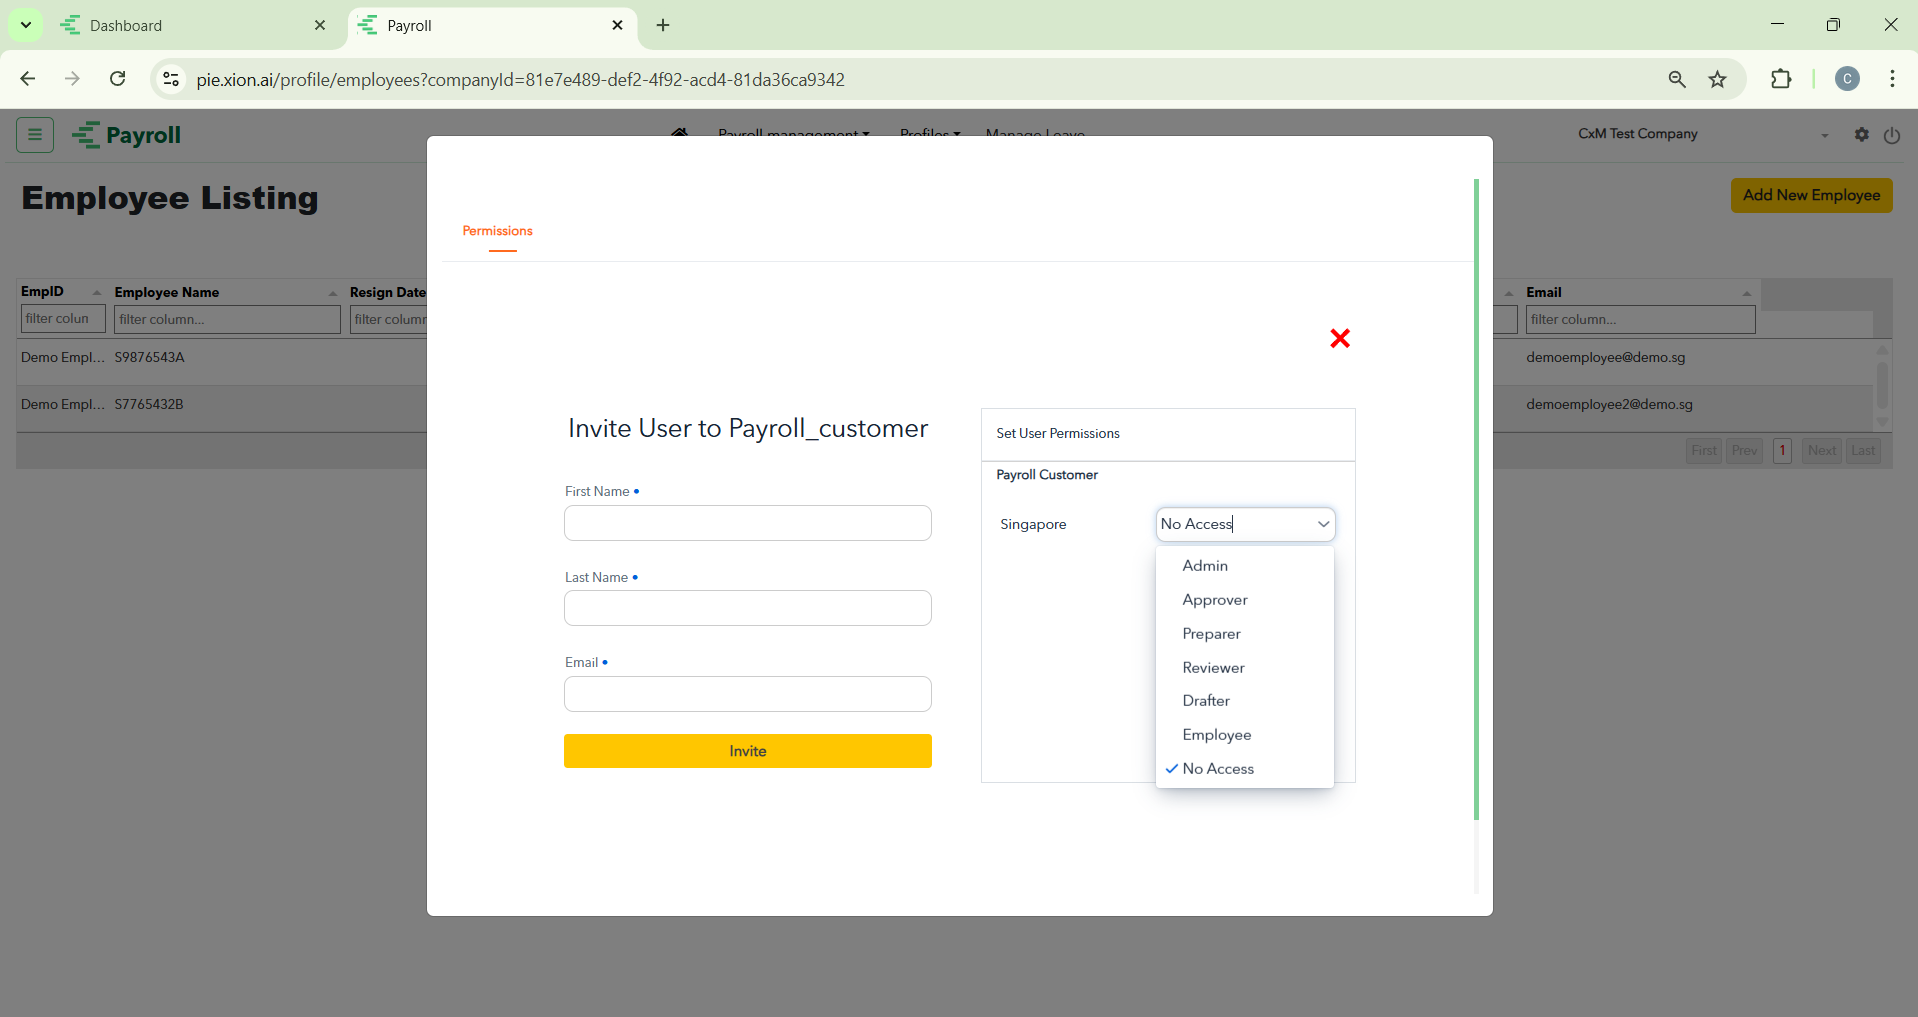
Click the yellow + Invite New User button. Enter their First Name, Last Name, and Email.
Setting Permissions
Select the appropriate level of access from the dropdown menu:
- Admin / Approver: Full control over payroll runs and data.
- Preparer / Drafter: Can input data but cannot finalise cycles.
- Reviewer / Viewer: Read-only access to reports and records.
- Employee: Limited access to personal payslips only.
Employee Profile Setup
How do I add my team members to the Payroll system?
After your Company Profile is updated, you can begin building your team database.
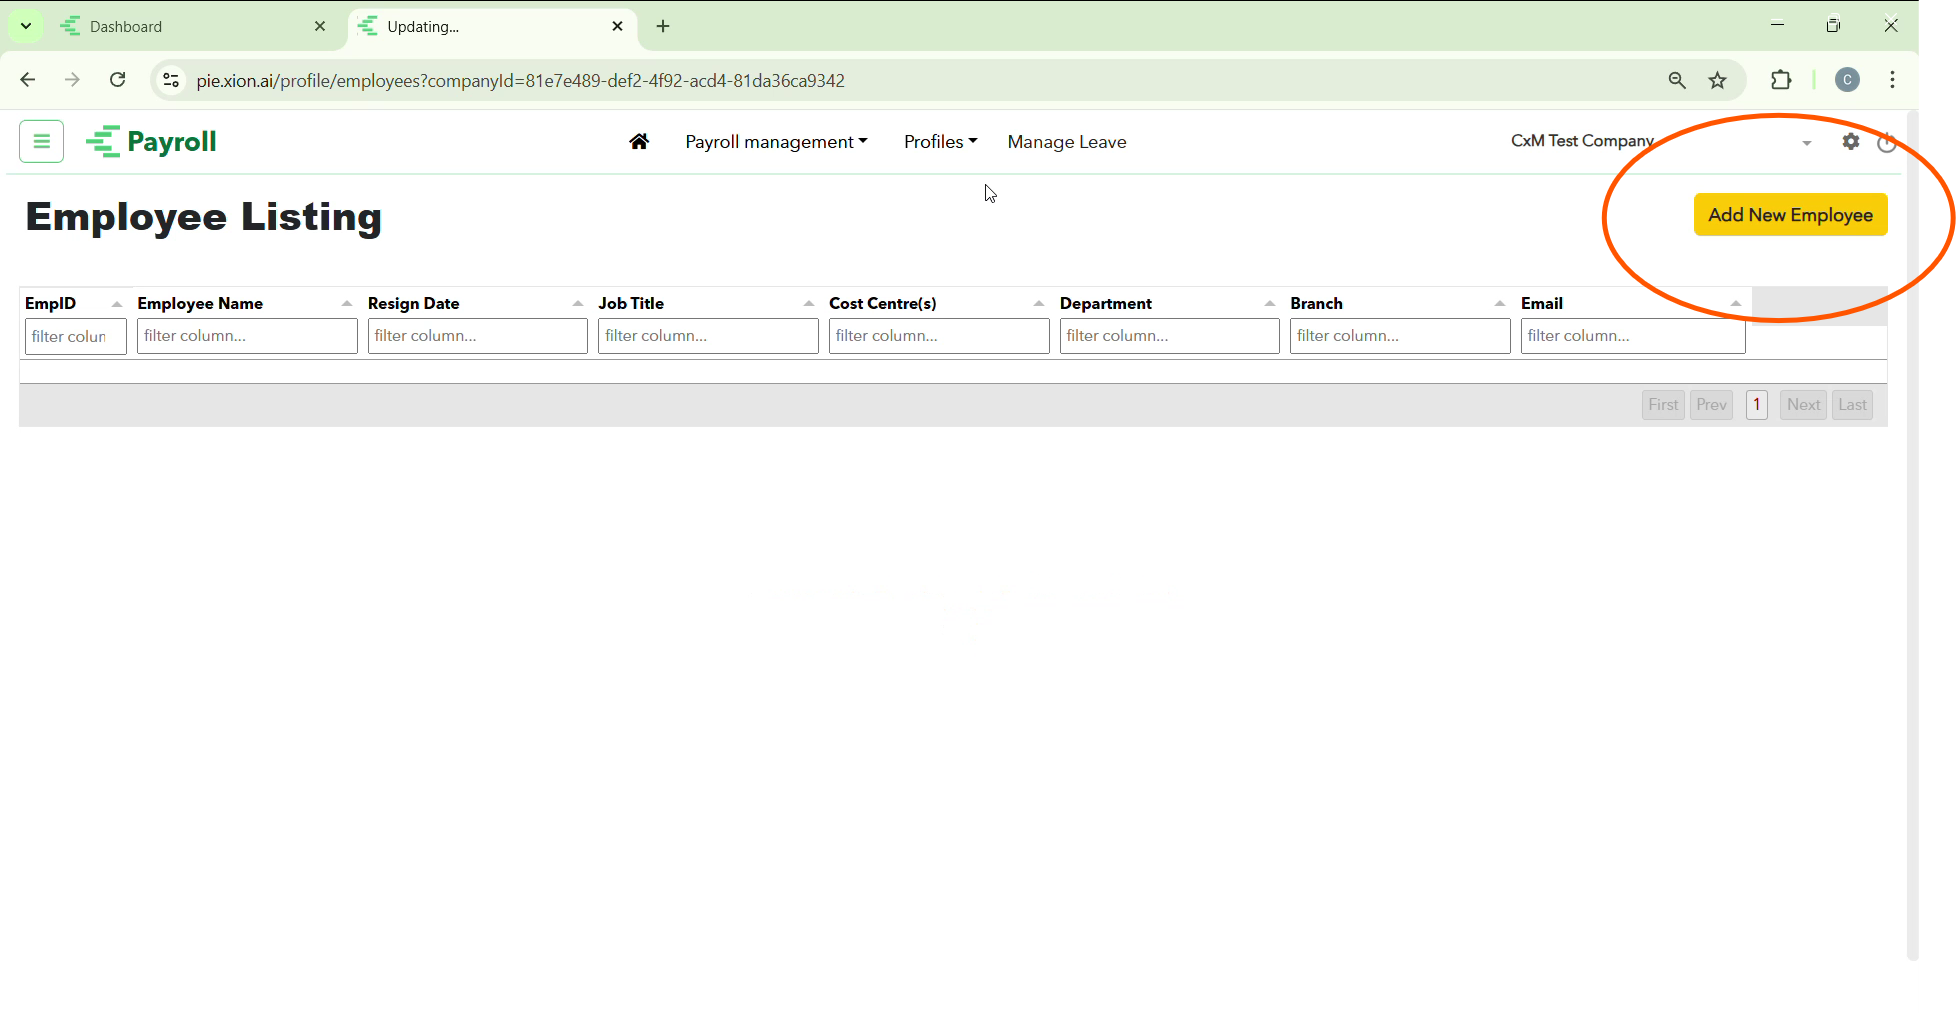
Navigating to Employees
Go to the Profiles tab in the sidebar, select the Employees dropdown, and click Add Employee.
Mandatory Information (Marked with *)
To ensure accurate salary and CPF calculation, you must provide the following:
- Personal Details: Full Name (as per NRIC/FIN), Email, Birthdate, and Gender.
- Employment Details: Hire Date.
- Identification: Immigration Status (e.g., Singaporean/PR), ID Type, ID Number, and Nationality.
- Job Details: Employment Type (Full-time/Part-time), Start Date, Rate of Pay (Monthly/Hourly), and Monthly Salary amount.
- Local Contact: Country (Singapore) and Address.

Statutory & Working Days
- Statutory: Select the relevant Self-Help Group (SHG) contribution (CDAC, MBMF, SINDA, or ECF).
- Working Days: Select Full Day or Half Day for each day of the week to set the employee’s standard schedule.
- Leave: Assign a Leave Template and a Leave Approver for the employee.
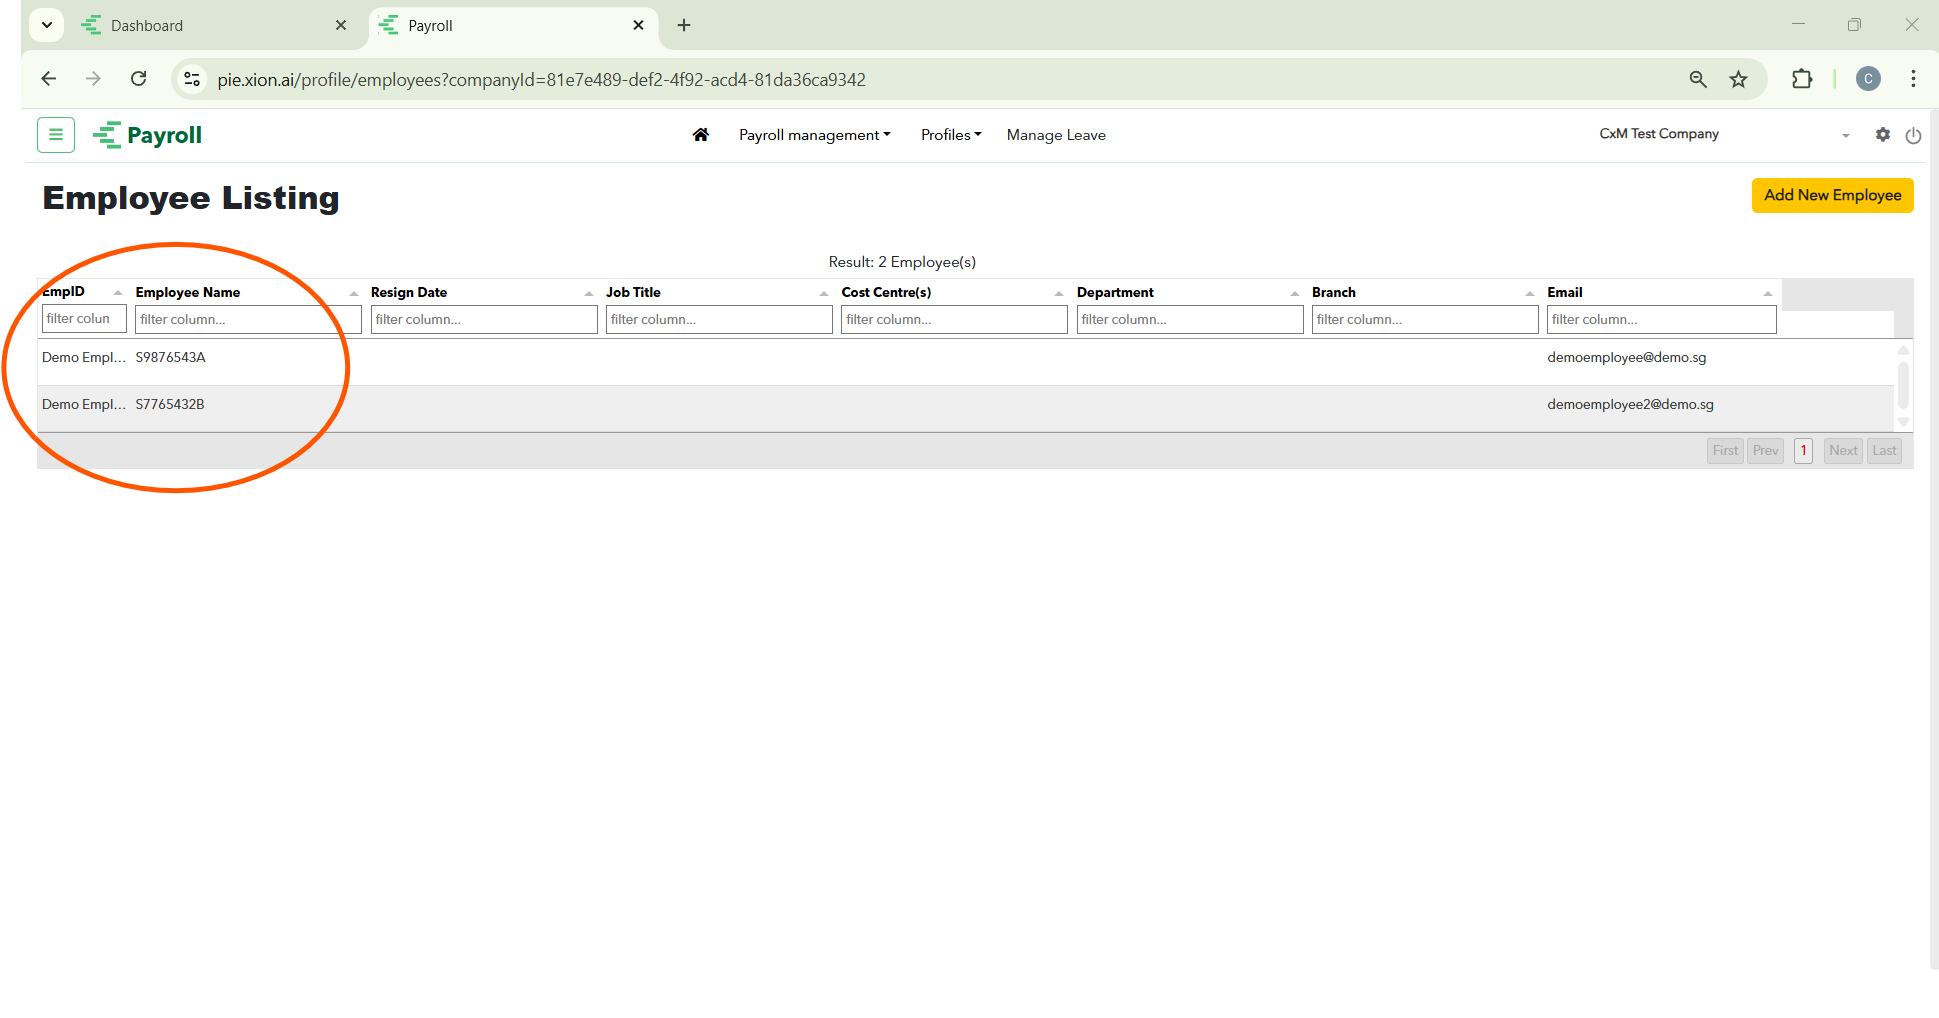
Saving and Viewing the List
Once all details are entered, click Save. You will then be redirected to the Employee Listing page.
Managing the Employee Listing
How do I view and edit my employee records?
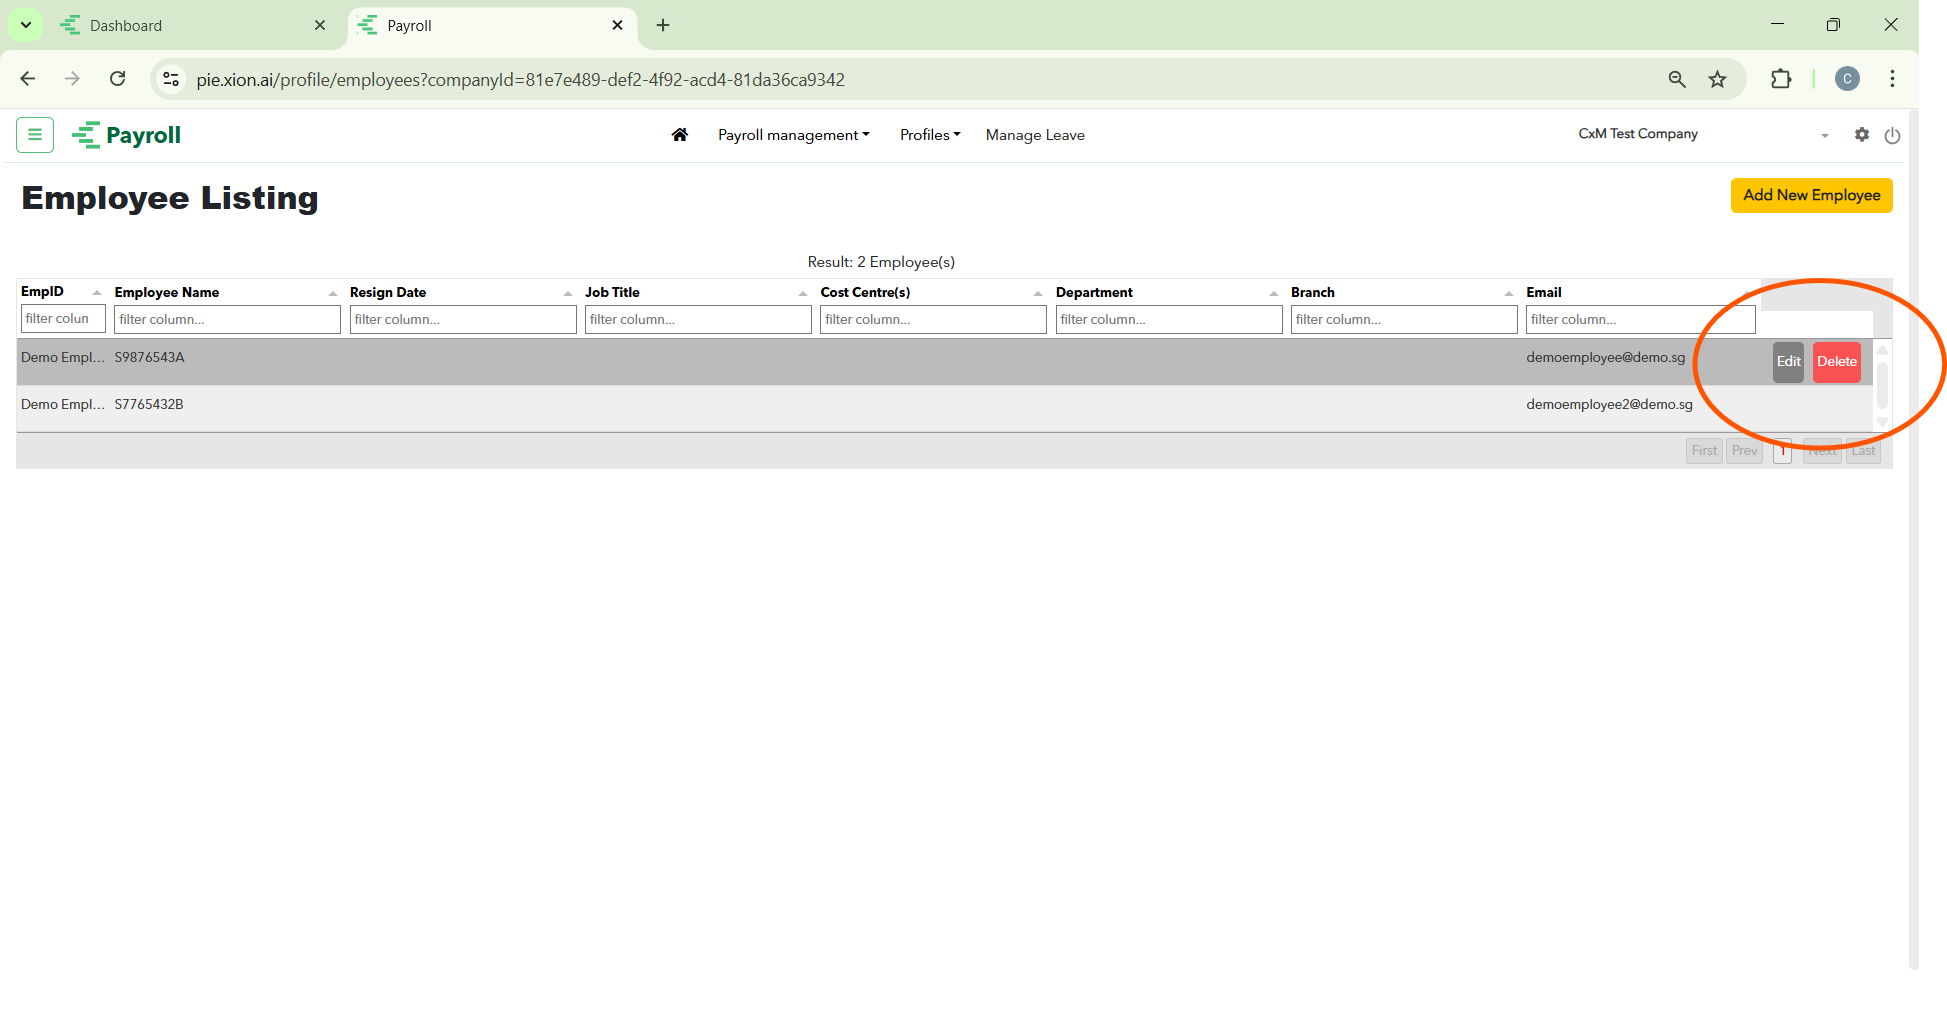
Quick Actions (Hover Feature)
Hover over an employee’s row to reveal action icons: Edit (Pencil Icon) to update personal details, salary changes, or bank information, or Delete (Trash Icon) to remove incorrect entries.
Information at a Glance
The table provides a high-level summary:
- Employee Name & ID
- Designation & Department
- Employment Status (e.g., Active)
- Joining Date
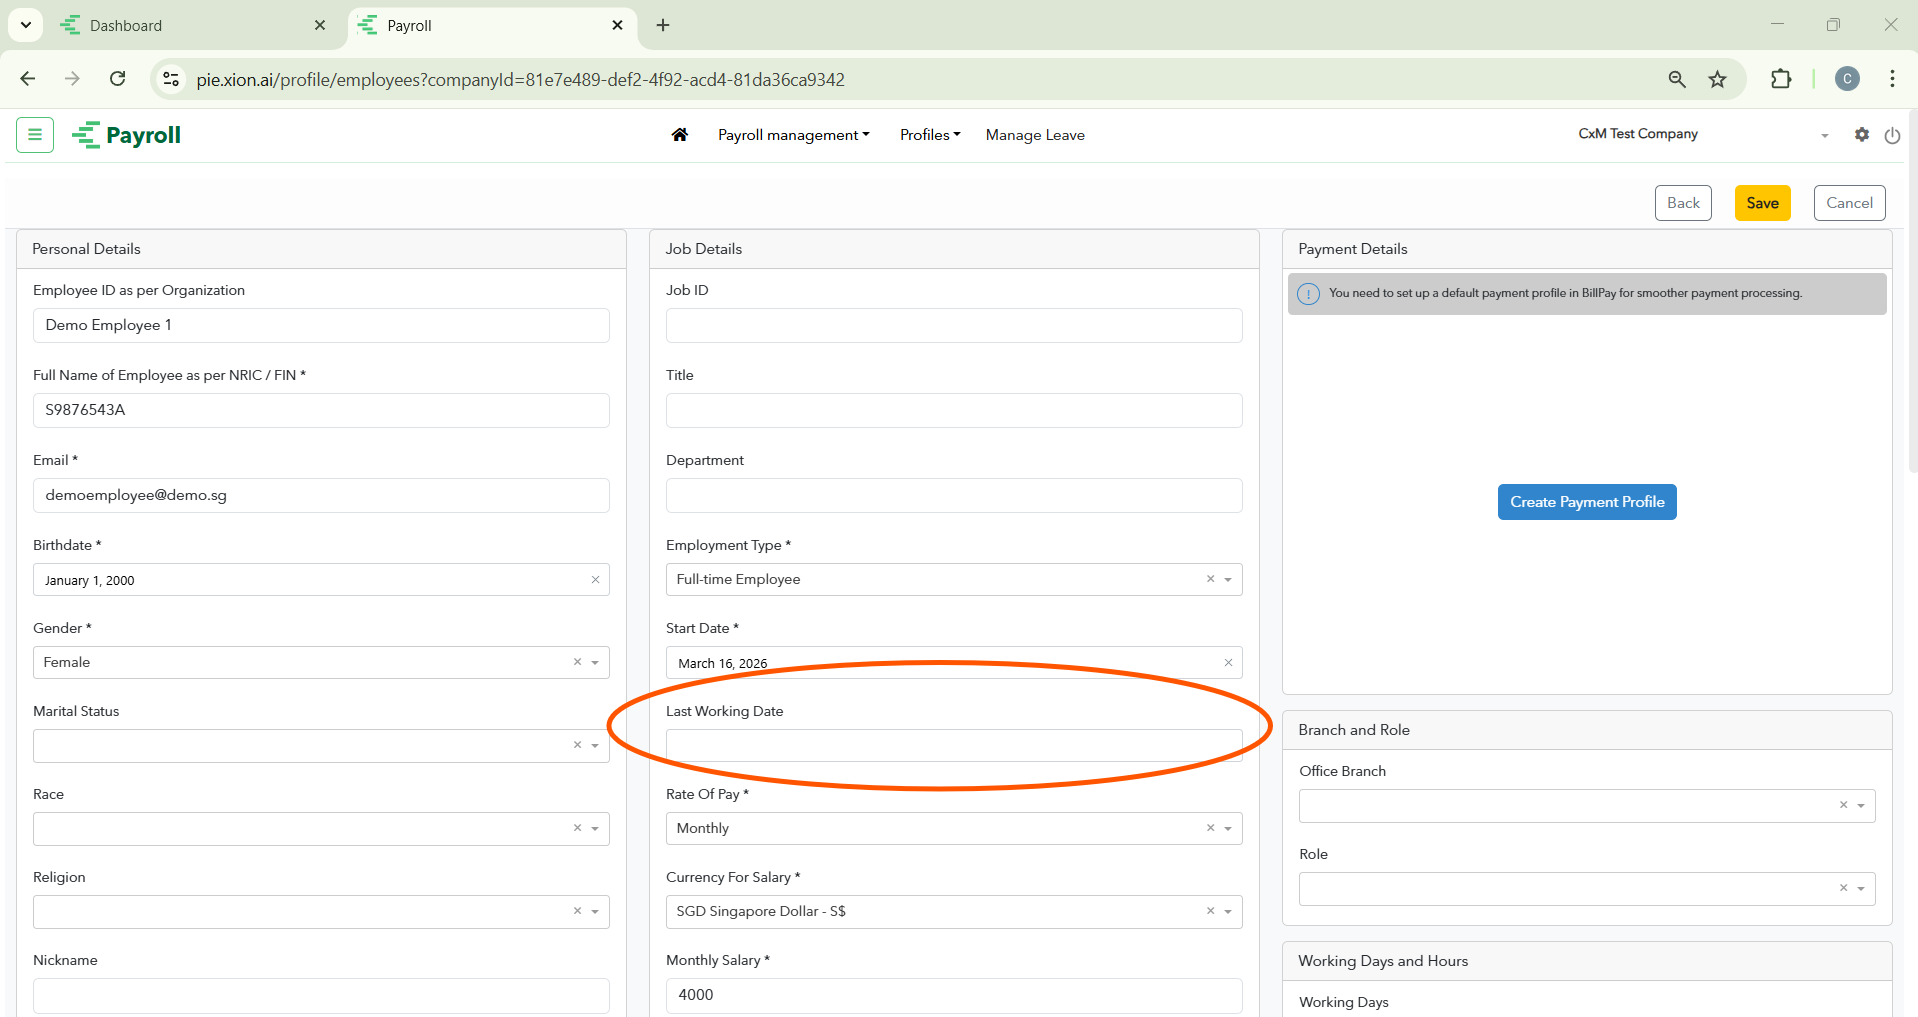
Offboarding: Tagging Resigned Employees
How do I manage an employee’s resignation?
Setting the Dates
Click Edit (Pencil Icon) on the employee’s profile and navigate to the Employment Details (Resign Date and Confirmation Resign Date) and Job Details (Last Working Date) sections.