×
Close
Find answers and get support

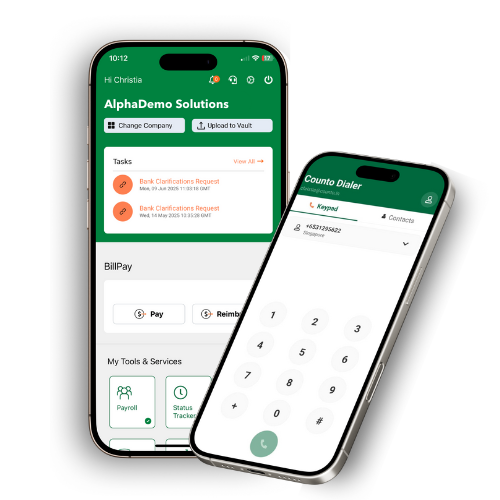
BillPay
Manage your payments and bills
IN THIS SECTION:
Initiating a Reimbursement Request
Start a new reimbursement claim and upload all necessary invoices.
1
On the main Dashboard, click the Add Reimburse button (upper right-hand corner).
2
Input Reimbursement Information:
- Purpose: State the reason (e.g., “Travel Expenses”).
- Supplier: Select the employee/entity to be reimbursed.
- Account: Choose the payment account.
- Upload Invoices: Attach all supporting receipts or documents.
Invoice Management and Details
Manage, preview, and edit details for your uploaded invoices using AI extraction.
SMART EXTRACTION:
Counto BillPay’s AI automatically extracts key details from your invoices, intelligently pre-filling relevant fields like Date, Amount, and Currency to save you time.
- Invoice Preview: Click any invoice to preview it with enhanced viewing options.
- Navigation: Use buttons below for multi-page files and above to switch between different invoices.
- Editing: Click any field to edit amounts, currency, or classifications. Missing required fields are highlighted in red.
Finalising and Submitting
Complete your request and send it for approval.
Summary Totals: Review the grand total and converted base currency amounts before submitting.
Save as Draft: You can save at any point and resume later via the My Bills tab.
Submit for Approval: Once complete, the status changes to Pending Approval and the Approver is notified.
Approving Reimbursement Requests
Guidance for reviewers and authorising reimbursement claims.
ROLES: Reviewers can only authorise/reject; Approvers can also handle payments via Airwallex (AWX).
1
Approver reviews request details thoroughly.
2
Click Approve and provide a brief reason in the dialogue box.
3
Status changes to Processing, moving forward to the payment stage.